


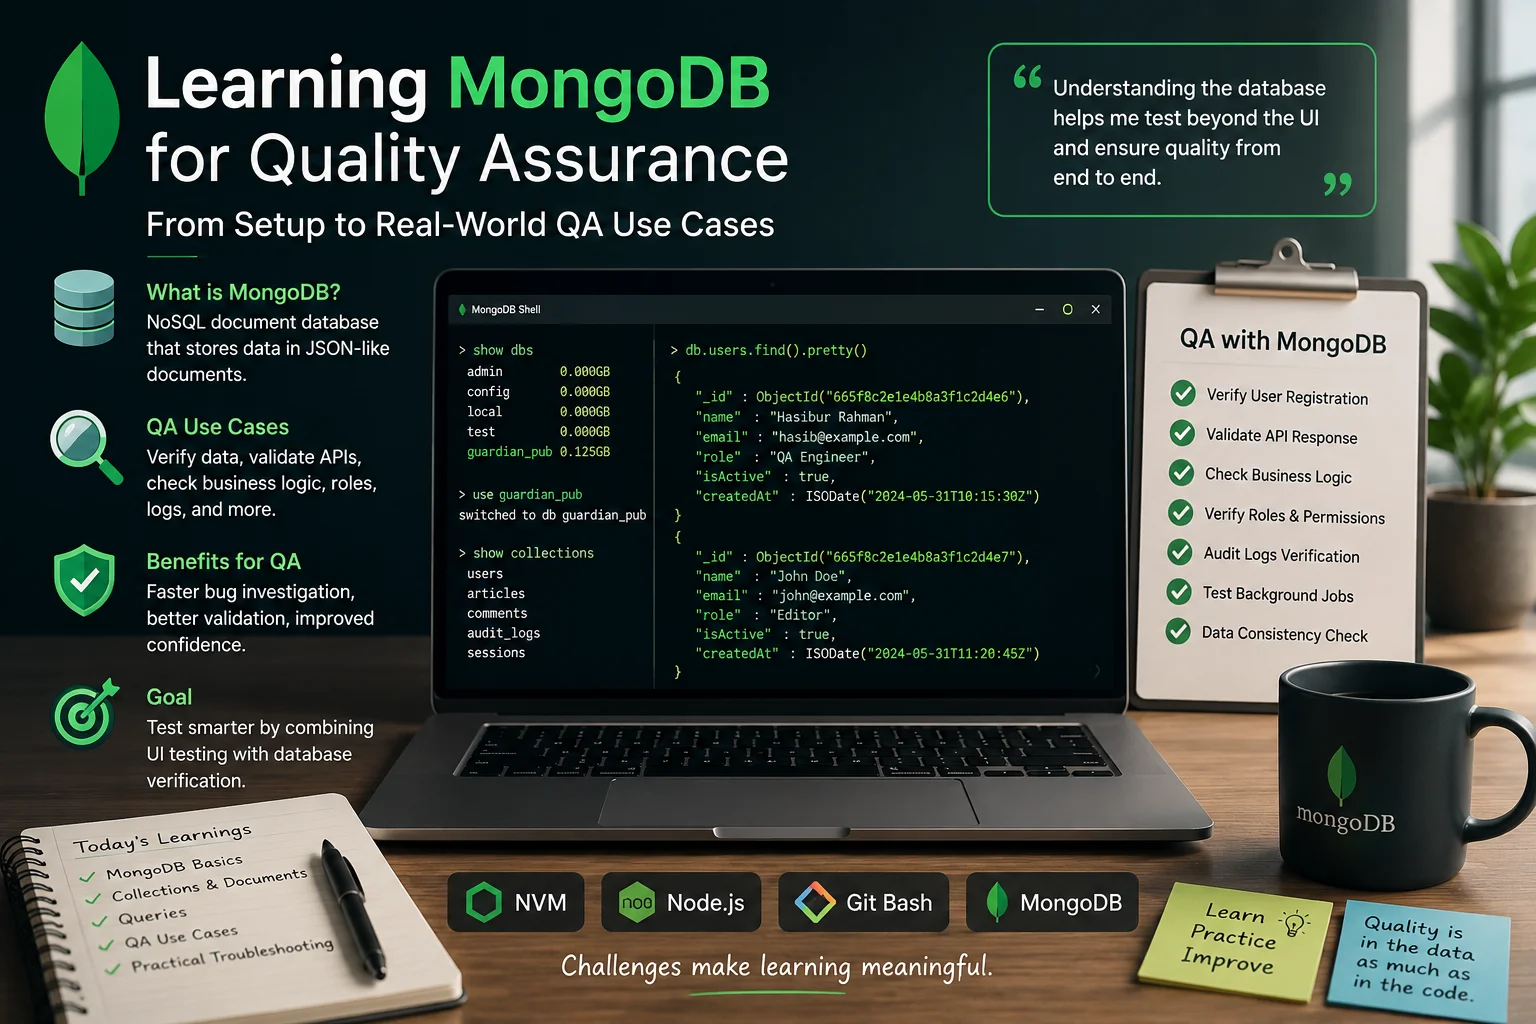
If you've been in QA for more than a week, you've probably learned a hard truth: the UI lies.
You submit a registration form, the screen flashes a cheerful "Account Created!" message, and everything looks perfect. But did it actually save correctly? Did it save securely? The only way to know for sure is to bypass the frontend and look directly at the database.
If your team is using MongoDB, your best tool for this is MongoDB Compass. Here is exactly what it is, why we use it, and how you can use it to catch bugs the UI will never show you.
What is MongoDB?
Before we look at Compass, let's understand the database itself.
- What it is: MongoDB is a popular NoSQL database. Instead of storing data in rigid tables with rows and columns (like Excel or a traditional SQL database), it stores data in flexible, JSON-like documents.
- Why people use it: It's incredibly fast and developer-friendly. Because it uses documents, developers can work with data in the same format they use in their application code.
- What problem it solves: It solves the problem of rigid schemas. In a traditional database, adding a new field (like a user's "secondary phone number") requires a complex database migration. In MongoDB, the app can just start saving that new field immediately. It handles dynamic, unstructured data effortlessly.
Getting Started with MongoDB Compass
Querying a database via a command line can be intimidating. MongoDB Compass is the official graphical user interface (GUI) for MongoDB. It lets you visually explore your data, run queries, and interact with the database without writing complex code.
How to Download and Install
- Head over to the official MongoDB Compass Download Page.
- Select your operating system (Windows, macOS, or Linux) from the dropdown and click Download.
- Run the installer—it's a standard, one-click installation process.
How to Connect
When you open Compass, you'll be greeted by a connection screen. You don't need to configure a bunch of complex networking settings. You just need a Connection String (which your dev team or DevOps engineer can provide). It usually looks something like this:
mongodb+srv://qa_user:yourpassword@cluster0.mongodb.net/test
Paste that string into the main input bar, click Connect, and you are in.
Real-World QA Example: The Signup Verification
Let's look at how a QA engineer actually uses this.
The Scenario: You are testing a new user signup flow. You enter the details, hit submit, and get a success message. A junior tester might close the ticket here. A senior QA goes to the database.
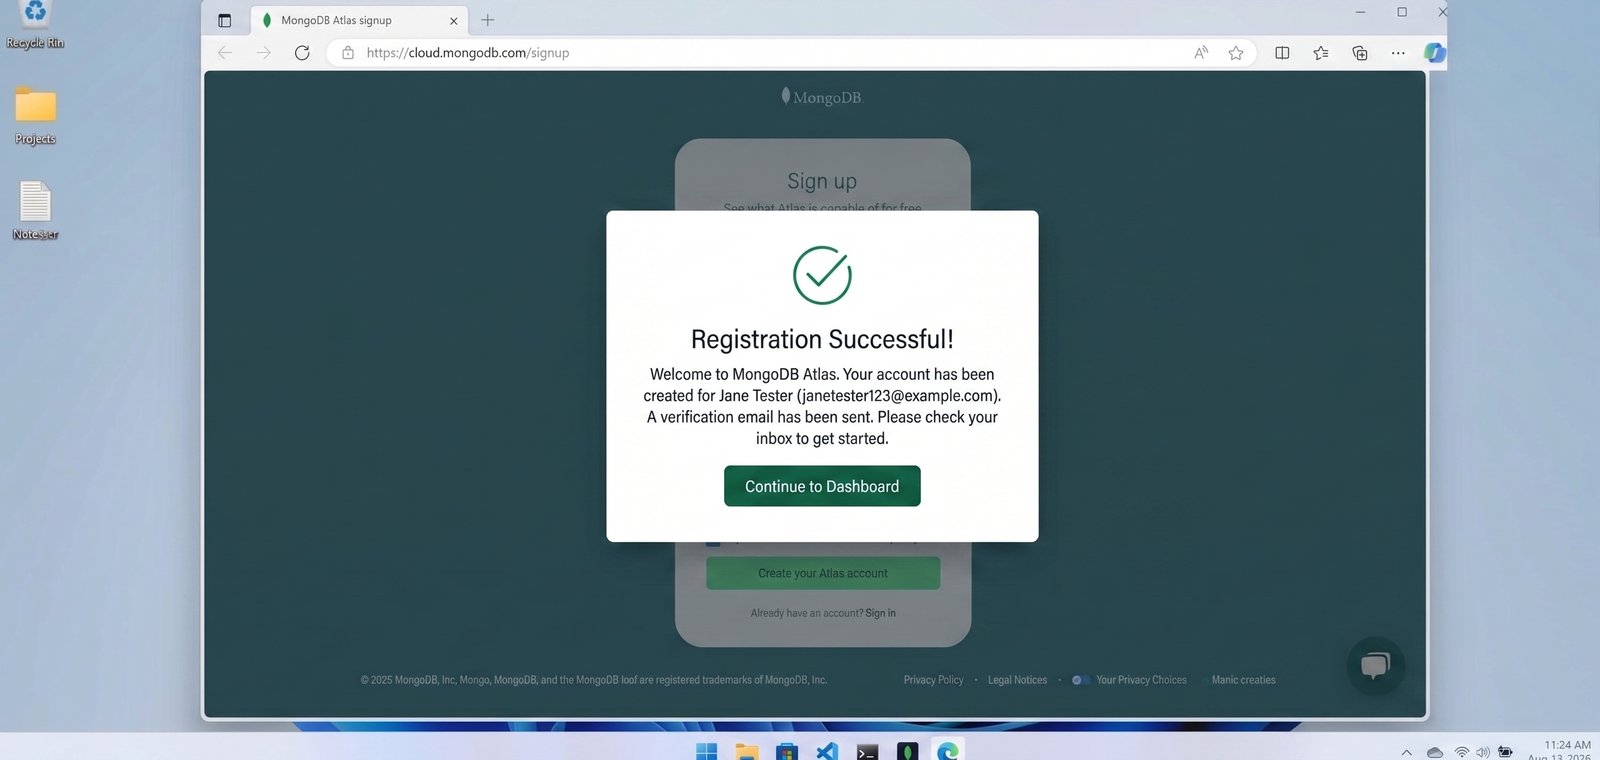
Now, open MongoDB Compass, navigate to your project's database, and click on the users collection.
How to Use the Filter Bar
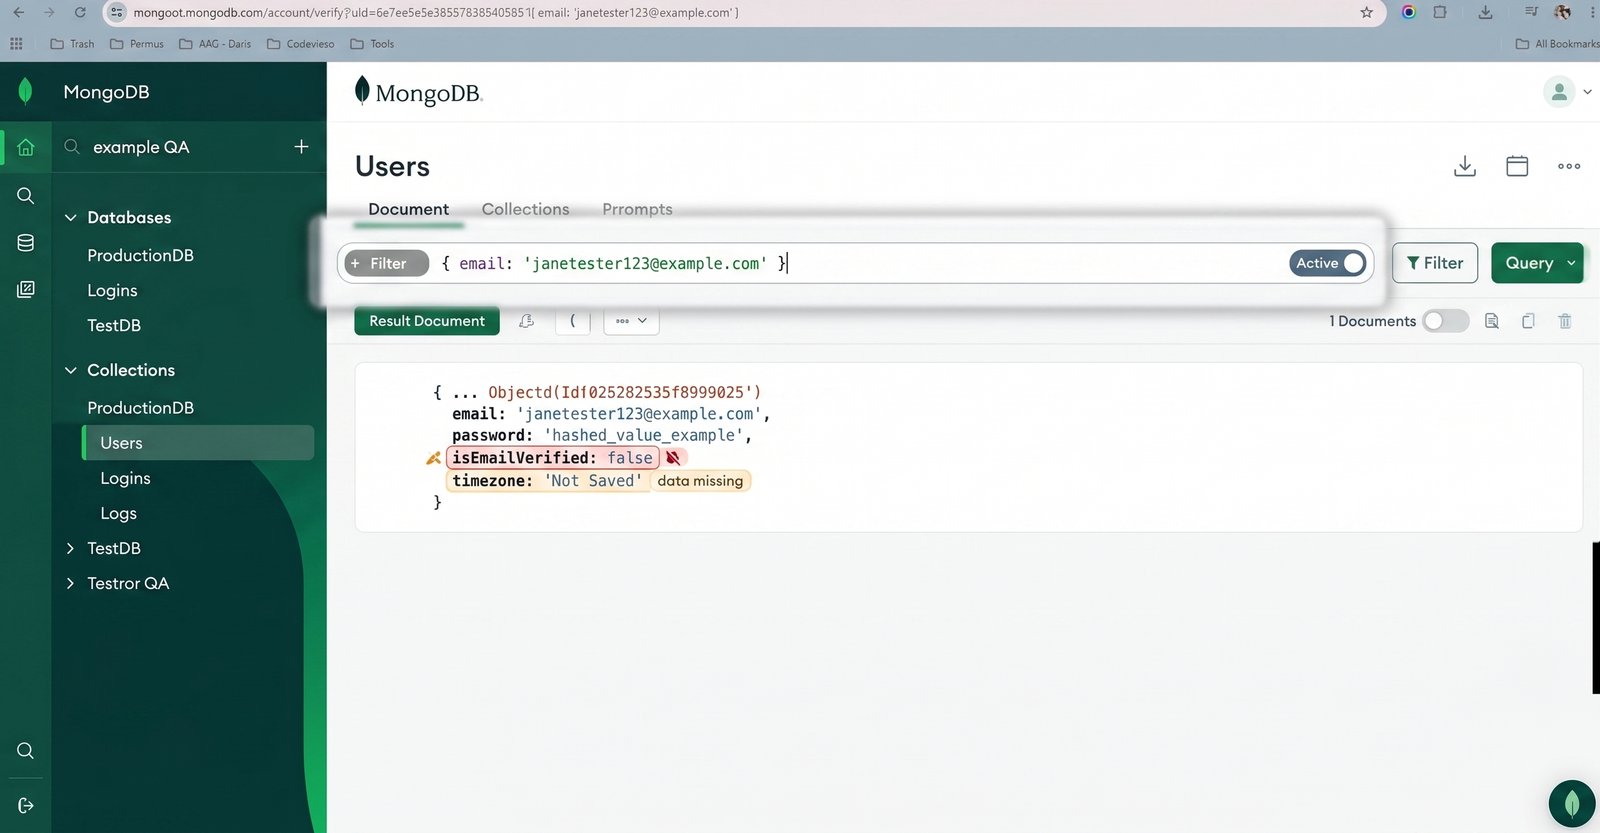
At the top of the Compass screen, you'll see a query bar. To find the exact user you just created, you write a simple filter using JSON syntax:
{ email: "qatest1@example.com" }
Click Find, and Compass will return the exact document for that user.
Catching the Hidden Bugs
Now that you are looking at the raw data in Compass, you can verify what the UI hid from you:
- The Security Bug: Look at the
passwordfield. Is it a long string of random characters (hashed)? Or does it literally sayPassword123!? If it's plain text, you just caught a critical security vulnerability that the frontend would never have revealed. - The Logic Bug: Look at the
isEmailVerifiedfield. Because this is a brand new account, that field should explicitly sayfalse. If it defaulted totrue, a user could bypass the email verification step entirely. - The Data Loss Bug: Did the user's selected "Timezone" from the dropdown actually save to the database, or is the
timezonefield completely missing?
A Note on Node and NVM (And How to Set Them Up)
While testing, you might occasionally hear developers talk about Node.js and NVM alongside MongoDB.
- Node.js is the backend environment that actually runs the code communicating with MongoDB.
- NVM (Node Version Manager) is a tool that lets developers easily switch between different versions of Node.js on their machine, ensuring their local environment exactly matches production.
You don't need to master these to use Compass, but if you want to run your application locally to test it, you will need them. The industry-standard way to install Node is actually through NVM.
Here is the quick setup for macOS/Linux users:
Open your terminal and run the official NVM install script:
Bash
curl -o- https://raw.githubusercontent.com/nvm-sh/nvm/v0.40.6/install.sh | bash
Once NVM is installed, you can easily install and use the latest Long Term Support (LTS) version of Node with two commands:
Bash
nvm install --lts
nvm use --lts
(Note for Windows users: NVM isn't natively supported on Windows, but you can use nvm-windows to get the same functionality).
As a QA engineer, your superpower is visibility. By learning to connect to MongoDB Compass, writing basic document queries, and understanding the local environments your developers use, you stop trusting the UI and start proving the data.

Leads quality assurance at Codevioso, owning test strategy, release readiness, and the database-level checks that catch what the UI hides.